My Process for The Non-Seen
Posted 07 Apr 2015
As I launch into the exciting world of Chapter 2, I thought this might be a nice time to give you all a little peek into the process of making each page. Let's take a look at the making of Page 1, start to finish.
The page begins as a script. I went back and forth a lot on what to open the chapter with, and ultimately decided to show Claire waking up on the first page, then cut to the parents talking on the second and third pages. Here's what my script said:
We open with Claire awakening the following morning, happy at first and then transitioning to irritation as she thinks back to the events of the night before. She wants answers. She gets up. Ruth is out at the shoreline, collecting marine life samples. Alan meets her with a cup of coffee on the way to the lighthouse. They discuss his dreams and his unsettled thoughts over the last couple days. Ruth mentions that she's going on a trawling trip later.
As you can see, my scripts generally don't include dialogue or any sort of blocking; I find that stuff easier to work out in thumbnails. Here's how I initially broke down these three pages:
As you may have noticed, these pages don't really resemble that which I finally drew. These were a first draft and I ultimately scrapped them and tried again. (The slashes across the pages indicate that they are not for use in the final comic.) I eliminated the page with Claire because it seemed unnecessary and because I have a bad tendency to start chapters with characters waking up. Instead I decided to jump straight to the parents, and to merge their two pages into one, as it seemed a lot of that was filler. Here's the final thumbnail (with this and all other images, I will display only the first panel. Click to see the rest):
As you can see, the dialogue and blocking are more or less solidified at this point, and the panel arrangements have been decided.
For Sunrise I did only one pass of penciling, with a soft lead. For The Non-Seen I've been doing two passes, starting with a hard lead. For this "rough pencil" stage, I try to stay very loose and redraw as much as necessary to get it right. The lines stay very light, so they're easy to erase and redo. I've darkened the contrast significantly here; in real life these lines are nearly invisible. Note also that I've also penciled in the lettering with a soft lead. This enables me to see roughly how much space the text will occupy.
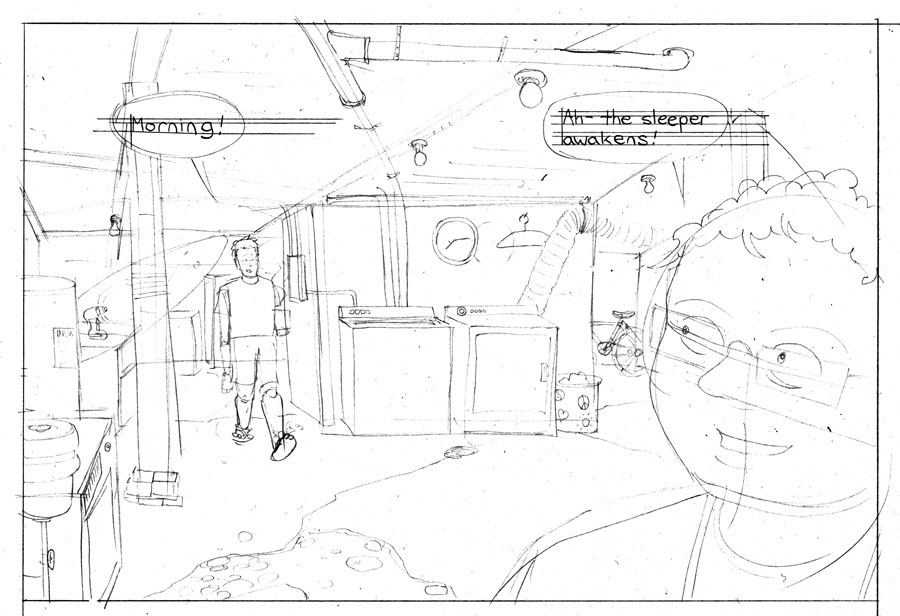
At this stage I also develop the composition as needed, as the thumbnail is only a very rough guide, and look up references for the background. In the case of this page, I looked up some images of old basements online and also drew a map of the room to ensure consistency both now and for the future.
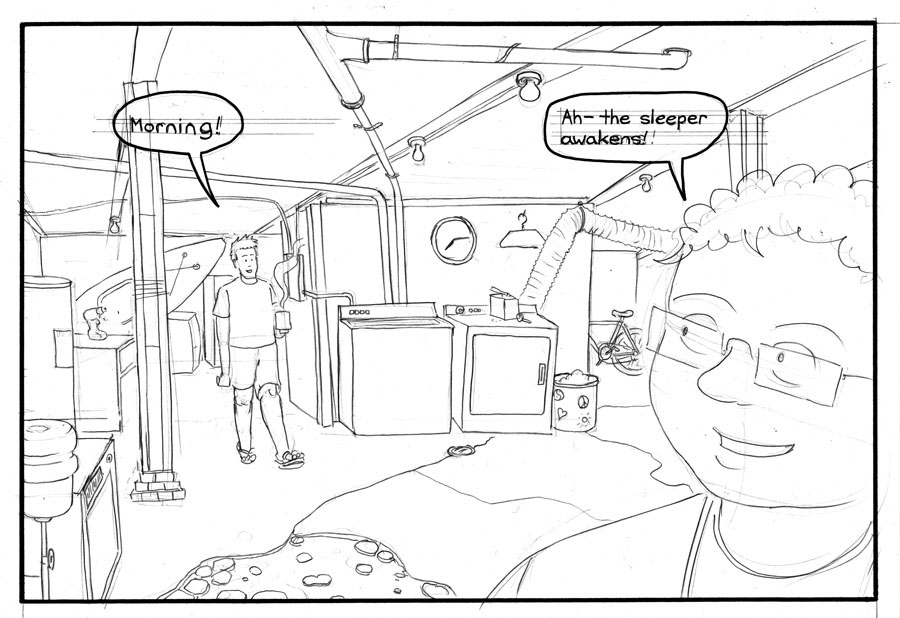
Next I ink the panel borders and do the lettering. The letters are done with Micron markers, and the panel borders with a good old-fashioned Sharpie. Once that's done, I go over the light pencil lines with a softer lead, trying to get an "ideal average" of all the messy indeterminacy of the rough pencils. This is probably my favorite part of the process, because you start with a messy drawing and end up with one that looks pretty slick. If you look closely, you can still see the rough pencils underneath. (I don't know why I do the letters and panel borders before this step, that's just how I do it.)
Time to break out the ink! The tight pencils are replaced with inked linework drawn with a Brause 511 nib. Afterward I erase the stray pencil lines and add registration marks in the margin to aid in aligning my scan. (The paper has to be scanned twice to get full coverage.) When you see the linework in the finished page, it's contrast-corrected so that all lines are true black, but here I've left it as scanned so you can see the variation in the ink.
Next it goes to digital, where I clean up mistakes and add the additional spot blacks (areas of solid black) and spot color. In the past I've done digital editing either in Photoshop or Krita (I highly recommend Krita, incidentally), but for the past half-year or so I've been working on an iPad using an app called Procreate and an Adonit Jot Touch pen. Krita is nice, but it's even nicer to be able to draw directly on the screen.
Spot blacks, with ghosted linework for reference:
Spot color, with ghosted linework for reference:
The spots are layered over the original linework, and the final result is what you've already seen:
So there you have it! I never time myself when I'm working (it makes me nervous), but I'd estimate each page probably takes something like four to five hours of work, start to finish. I generally spread this out over several days, partly by necessity and partly because I feel I can more easily spot flaws in the page if I take twenty-four hours between steps. That's about it!
If you enjoyed the post, please check out the comic!